To maintain tube amplifiers safely, regularly inspect and replace old tubes, as they degrade over time; use a multimeter to check for proper voltage. Clean the chassis with a soft brush to remove dust, which can cause overheating. Ensure proper ventilation and avoid placing the amplifier in direct sunlight or near heat sources.
How to maintain tube amplifiers safely refers to the practices and procedures needed to keep vacuum tube amplifiers in optimal working condition while preventing harm to the equipment or the user.
Maintaining a tube amplifier is like tuning a vintage car; it requires regular care, the right tools, and a gentle touch to keep it running smoothly and safely.
Key facts
- Tube amplifiers contain high voltages and can pose electrical hazards if not handled properly.
- Regular maintenance can extend the life of your tubes and other components.
- Tube amplifiers need time to warm up before use to prevent damage to the tubes.
- Proper storage and handling can prevent physical damage to the amplifier.
01What you need
- A tube amplifier
- Replacement tubes (matched set recommended)
- A tube tester or multimeter
- Screwdriver set
- Soft cloth for cleaning
- Compressed air for dusting
- Safety gloves and goggles
- A well-ventilated workspace
02Step-by-step maintenance procedure
- Turn off and unplug the amplifier before performing any maintenance. Safety should always be your first priority.
- Allow the amplifier to cool down for at least 30 minutes if it has been recently used. This prevents burns and reduces the risk of cracking tubes due to thermal shock.
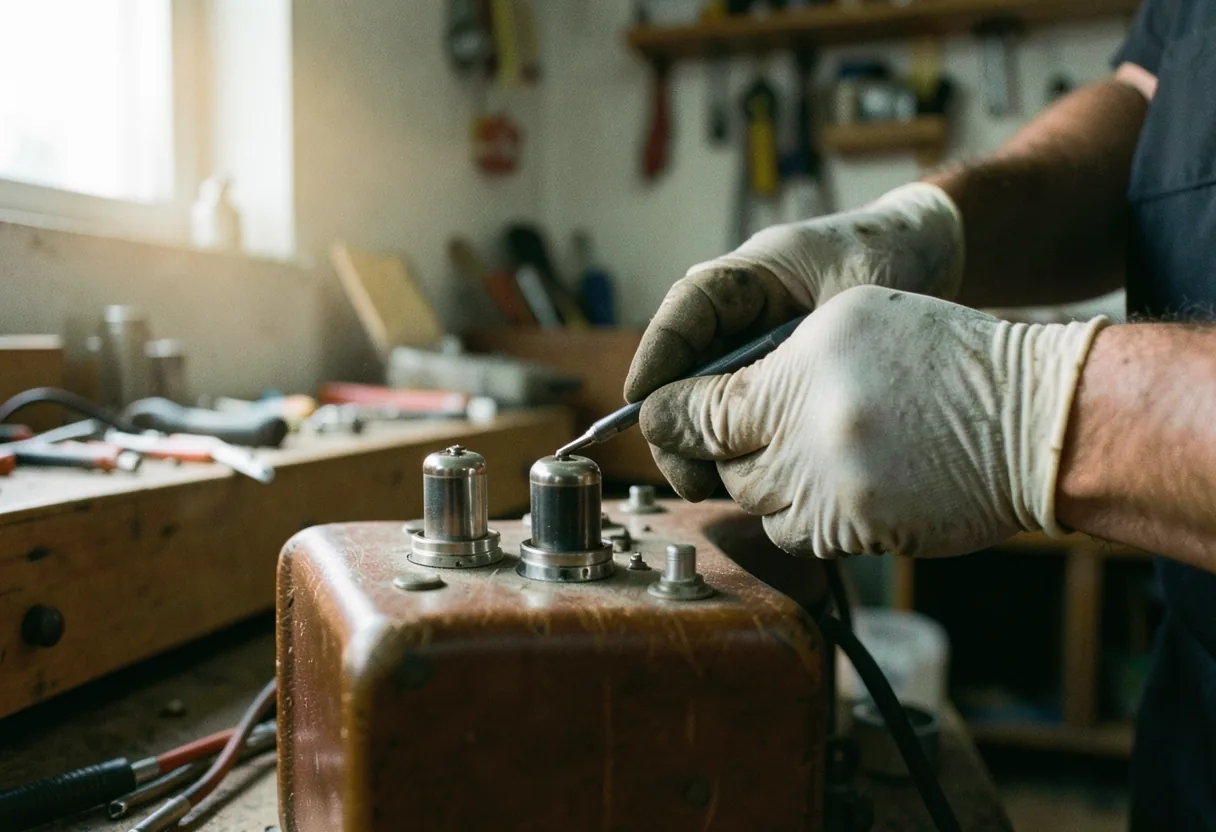
- Visually inspect the tubes for signs of wear or damage, such as discoloration, cracks, or excessive carbon buildup on the glass. Replace any damaged tubes immediately.
- Use a tube tester or multimeter to test the tubes for proper operation. Refer to your amplifier’s manual for the correct testing procedure and voltage settings.
- Carefully remove the tubes by pulling them straight out. Avoid twisting or applying excessive force, as this can damage the pins or the tube socket.
- Inspect the tube sockets for corrosion or debris. Clean them gently with a soft brush or compressed air. Ensure the sockets are dry and free of any conductive materials before inserting new tubes.
- Insert the new tubes by aligning the pins and applying even pressure until they are fully seated. Do not force the tubes; if they do not go in easily, check for misalignment or obstructions.
- Check all electrical connections, including the power cable, speaker cables, and any external effects or accessories. Ensure they are secure and free of damage.
- Clean the exterior of the amplifier with a soft cloth. Avoid using harsh chemicals or abrasive materials that can damage the finish. Use compressed air to remove dust from vents and controls.
03Common mistakes to avoid when maintaining tube amplifiers safely
The first time I really looked at the internals of a tube amp, I was struck by how exposed the high-voltage components are. This design makes regular maintenance accessible but also underscores the importance of caution. Never work on a tube amplifier while it is plugged in, even if it is turned off. Capacitors can retain dangerous charges long after the power is disconnected.
Another common mistake is using mismatched tubes. Tubes are manufactured in batches, and their characteristics can vary slightly. Using a mismatched set can lead to uneven performance and potential damage to your amplifier. Always replace tubes in matched sets to ensure consistent sound and reliable operation.
Overlooking the importance of proper ventilation is another error. Tube amplifiers generate heat, and adequate ventilation is crucial to prevent overheating. Ensure that the amplifier’s vents are clear of obstructions and that it is placed in a well-ventilated area. Avoid placing the amplifier in enclosed spaces or directly against walls.
04How to store tube amplifiers safely
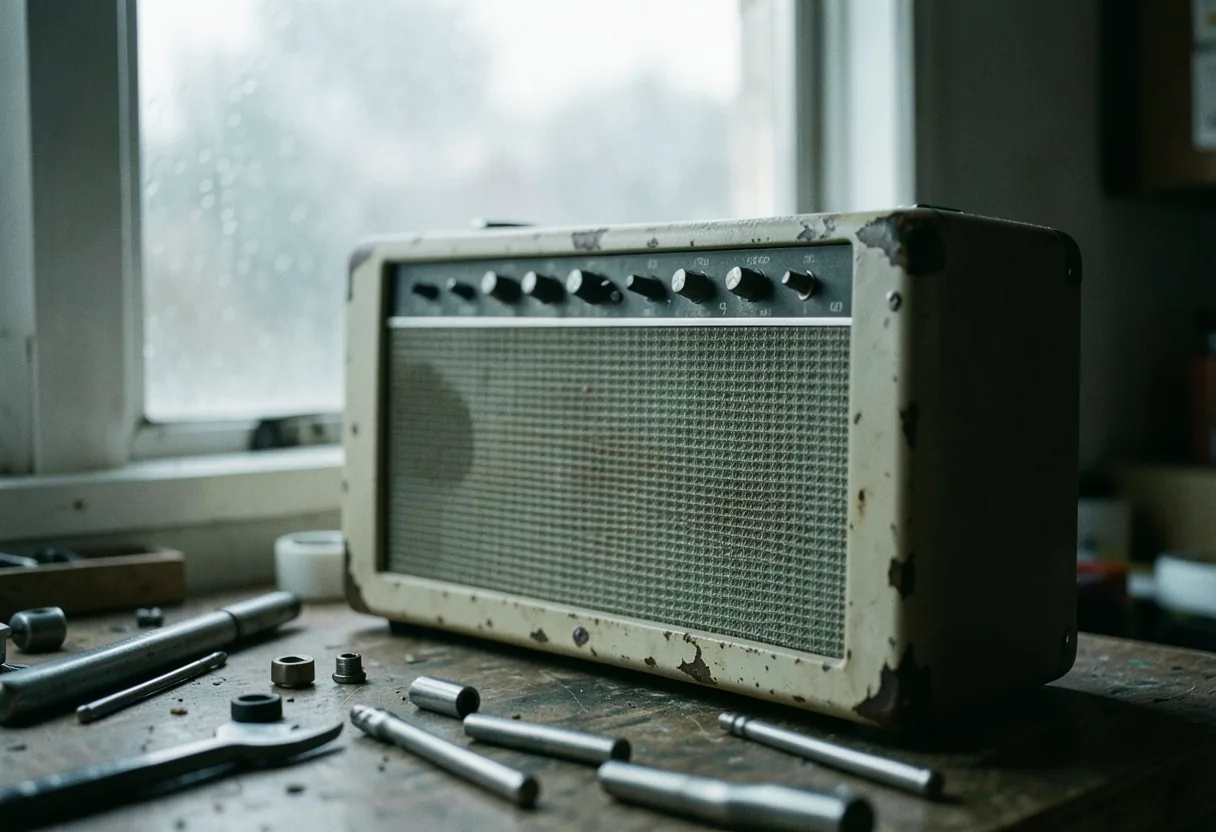
Proper storage is essential for maintaining the longevity and performance of your tube amplifier. Store the amplifier in a cool, dry place away from direct sunlight and heat sources. Extreme temperatures and humidity can damage the tubes and other components.
If you plan to store the amplifier for an extended period, consider removing the tubes and storing them separately in a safe, dry place. This prevents the tubes from developing microphonics or being damaged by vibrations or impacts. Ensure the amplifier is clean and free of dust before storing it.
Use a protective cover to shield the amplifier from dust and physical damage. Avoid using plastic covers that can trap moisture and promote condensation. Instead, opt for breathable fabric covers that allow airflow while keeping dust out.
05Understanding tube amplifier bias settings
Bias settings are critical for the proper operation and longevity of your tube amplifier. The bias setting determines the operating point of the power tubes, affecting their tone, efficiency, and lifespan. Incorrect bias settings can lead to poor performance, excessive noise, or even damage to the tubes.
Most modern tube amplifiers feature fixed bias, which means the bias setting is pre-adjusted by the manufacturer. However, some amplifiers allow for user-adjustable bias, which can be fine-tuned for optimal performance. Consult your amplifier’s manual for specific instructions on adjusting the bias settings.
If you are unsure about adjusting the bias settings yourself, consider seeking professional assistance. A qualified technician can ensure that your amplifier is properly biased for the tubes you are using, maximizing performance and longevity. For more tips on adjusting gain stages, check out our guide on How to Dial in Tube Amp Gain Stages.
06Best practices for tube amplifier maintenance
Maintaining your tube amplifier involves more than just replacing tubes and cleaning the exterior. Regularly inspect the amplifier’s components for signs of wear or damage. Pay close attention to the power supply, transformers, and capacitors, as these are critical to the amplifier’s performance and safety.
Keep your amplifier’s firmware and software up to date, if applicable. Some modern tube amplifiers feature digital controls and connectivity options that require periodic updates. Check the manufacturer’s website for the latest firmware versions and update instructions.
Invest in high-quality replacement tubes from reputable manufacturers. Cheap or counterfeit tubes can compromise your amplifier’s performance and potentially cause damage. Brands like Electro-Harmonix and JJ Electronic are known for their reliable and high-performance tubes.
07Where to buy tube amplifier maintenance kits
Several online retailers offer tube amplifier maintenance kits that include essential tools and replacement parts. Sweetwater Music Store is a popular destination for musicians looking for high-quality gear and accessories. They offer a wide range of maintenance kits, replacement tubes, and other essentials for tube amplifier care.
For those looking for used or vintage tube amplifiers, local music stores and online marketplaces can be excellent resources. Websites like Reverb and eBay often have listings for used tube amplifiers and maintenance kits. Ensure you purchase from reputable sellers and inspect the items carefully before making a purchase.
Remember, regular maintenance and proper care are key to keeping your tube amplifier in top condition. By following these guidelines and seeking professional assistance when needed, you can enjoy years of reliable performance and exceptional tone from your tube amplifier.
- Always turn off and unplug the amplifier before performing any maintenance.
- Allow the amplifier to cool down before handling the tubes.
- Use matched sets of replacement tubes for consistent performance.
- Inspect and clean the tube sockets and connections regularly.
- Check all electrical connections and cables for signs of wear or damage.
- Store the amplifier in a cool, dry place away from direct sunlight and heat sources.
- Use a protective cover to shield the amplifier from dust and physical damage.
- Invest in high-quality replacement tubes and maintenance kits from reputable manufacturers.
- Seek professional assistance for complex maintenance tasks or if you are unsure about any procedure.
08Frequently asked questions
How often should I check the tubes in my amplifier?
For optimal performance, inspect tubes every 6 months. Look for discoloration or blackening on the glass, which indicates aging. Use a tube tester like the Hickok 600A or Ampro T-99 for accurate measurements. Replace tubes when their readings drop below 90% of factory specs.
What’s the safest way to store tube amplifiers when not in use?
Store amplifiers vertically to prevent tube base corrosion. Keep them in a cool, dry place with humidity below 50% to avoid component damage. Use a dehumidifier if needed. Cover the amp with a breathable cloth to protect from dust but allow airflow.
Can I clean tube amplifier sockets myself?
Yes, but use contact cleaner like DeoxIT D5. Power off the amp and unplug it. Use a cotton swab to apply cleaner to each socket pin. Avoid metal tools to prevent damage. Reassemble and test functionality afterward.
Why does my tube amp hum loudly? How can I fix it?
Excessive hum often stems from grounding issues. Check all ground connections, especially the chassis ground wire. Ensure power cords are properly shielded. If the hum persists, suspect a faulty tube or capacitor. Replace the most likely culprit first.