
Treat a small room by adding acoustic panels to walls and ceilings, focusing on first reflection points. Place bass traps in corners to handle low frequencies. Use thick rugs or curtains to absorb sound. Avoid empty spaces; fill them with bookshelves or soft furniture to break up flat surfaces.
01Understanding the science behind acoustic treatment
The science of acoustic treatment revolves around three main principles: absorption, diffusion, and bass trapping. Absorption materials, like foam panels or fiberglass insulation, convert sound energy into heat, reducing reflections and echoes. Diffusion scatters sound waves in different directions, creating a more natural sound field. Bass traps target low-frequency sound waves, which are harder to control due to their longer wavelengths. By understanding these principles, you can make informed decisions about the types of materials to use in your small recording room.
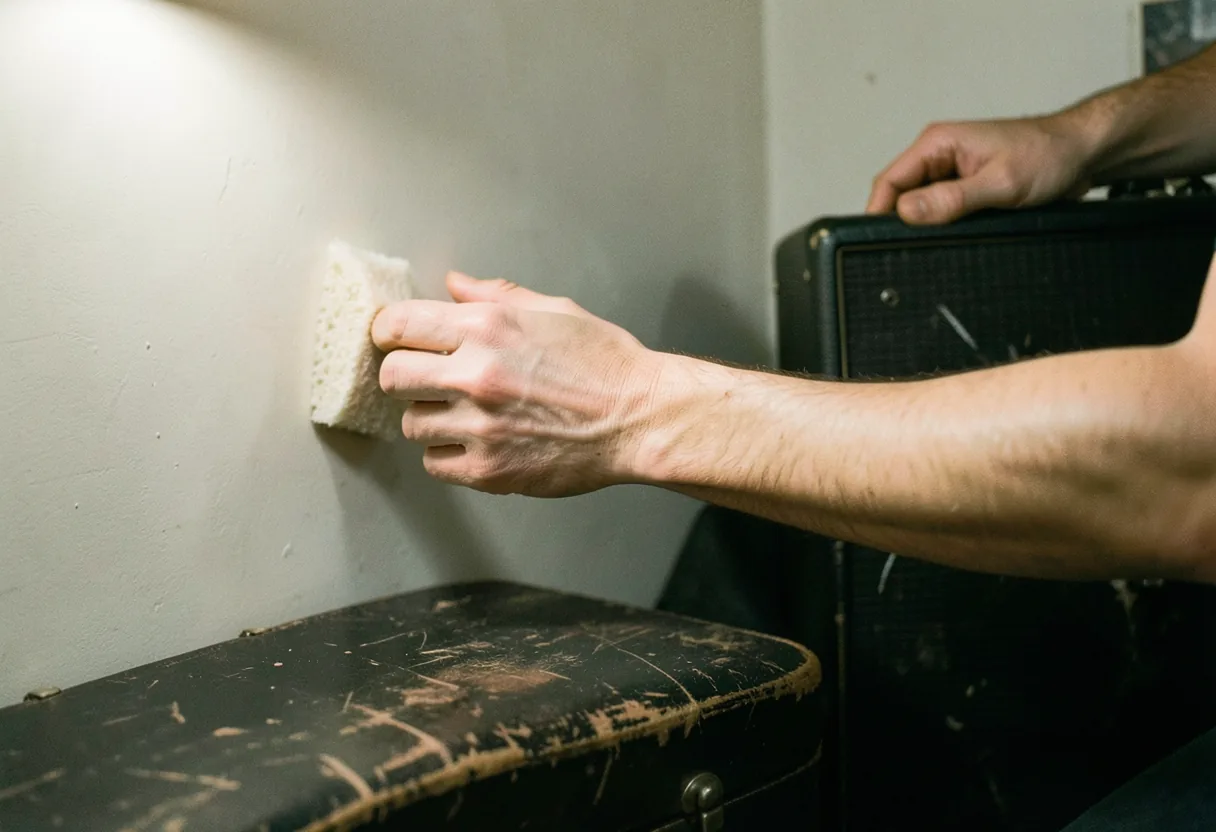
In plain terms, think of absorption as a sponge that soaks up excess sound, diffusion as a mirror that scatters sound in different directions, and bass traps as a net that catches low-frequency sound waves. Each plays a crucial role in creating a balanced and controlled acoustic environment.
Key facts
- Absorption materials reduce reflections by converting sound energy into heat.
- Diffusion creates a natural sound field by scattering sound waves.
- Bass traps are essential for controlling low-frequency buildup in small rooms.
- Professional-grade materials offer better long-term results than DIY solutions.
02How to measure and analyze your room’s acoustics
To effectively treat your small room for recording, you need to measure and analyze its acoustics. Start by identifying the problem areas using a simple clap test or an SPL meter. Stand in the center of the room and clap loudly, listening for echoes or flutter echoes. Mark these areas for treatment. For a more detailed analysis, use room measurement software like REW (Room EQ Wizard) or ARTA. These tools can provide detailed frequency response graphs and waterfall plots, helping you pinpoint specific problem frequencies.
The first time I really looked at a waterfall plot, I was amazed at how much information it provided. The graph showed the decay of sound in my room over time, highlighting specific frequencies that were causing issues. This data helped me make targeted adjustments to my acoustic treatments, resulting in a significant improvement in my recordings.
03DIY acoustic treatment solutions
If you’re on a tight budget, there are several DIY acoustic treatment solutions you can try. Thick curtains or heavy blankets can temporarily reduce echo, especially when hung over windows or on walls. Rugs or carpets can help absorb sound reflections from hard floors. For a more permanent solution, consider building your own acoustic panels using rockwool insulation and fabric. While these DIY solutions won’t match the performance of professional-grade materials, they can make a noticeable difference in your recordings.
04Professional-grade acoustic treatment materials
For long-term use and the best possible sound quality, invest in professional-grade acoustic treatment materials. Brands like Auralex, GIK Acoustics, and Primacoustic offer a wide range of products designed to address specific acoustic issues. Auralex’s Studiofoam panels are popular for their effectiveness in absorbing mid and high frequencies. GIK Acoustics’ Tri-Trap bass traps are known for their ability to control low-end frequencies. Primacoustic’s London Diffusion Panel is a great choice for scattering sound waves and creating a natural sound field.
05How to treat a small room for recording with professional-grade materials
To treat a small room for recording with professional-grade materials, follow these steps:
- Identify problem areas: Use an SPL meter or room measurement software to identify specific problem frequencies and areas in your room.
- Place absorption panels: Install acoustic foam panels or fiberglass insulation on the walls where reflections are strongest. Focus on the first reflection points between your microphone and speakers.
- Install bass traps: Position bass traps in the corners of your room to control low-frequency buildup. These are essential for reducing boominess in small spaces.
- Add diffusers: Place diffusers on rear walls to scatter sound waves instead of reflecting them directly back. This helps create a more natural sound field.
- Cover windows and floors: Hang heavy curtains over windows and use rugs or carpets to absorb sound reflections from hard floors. This step is crucial for reducing mid and high-frequency reflections.
- Test your room: Use an SPL meter or recording software to measure the sound pressure levels and frequency response in your room. Adjust the placement of your acoustic treatments based on the results.
- Fine-tune with additional treatments: If you still hear problematic frequencies, add more absorption panels or bass traps in the areas where these frequencies are most noticeable.
- Monitor and adjust: Regularly listen to recordings in different environments to ensure your room treatment is effective. Make adjustments as needed.
06Common mistakes to avoid when treating a small room for recording
Over-treating your room can make it sound too dead, losing the natural ambiance needed for music. Avoid covering every surface with absorption materials, leave some space for diffusion or natural reflections. Another mistake is neglecting bass traps, which are critical for managing low-end frequencies in small rooms. Finally, don’t rely solely on DIY solutions like blankets; while they help temporarily, professional-grade materials will give you better long-term results.
07How to choose the right acoustic materials for your room
When selecting acoustic materials, consider the specific problems in your room. Foam panels are great for high and mid-frequency absorption, but they won’t handle bass frequencies well. Bass traps are designed to tackle low-end frequencies, so they’re essential for reducing boominess. Diffusers are useful for scattering sound waves, creating a more natural sound field without excessive absorption. If you’re on a budget, DIY solutions like thick curtains or rugs can help, but they won’t match the performance of professional-grade materials.
08Where to buy acoustic treatment materials
You can find acoustic treatment materials at music gear stores like Sweetwater or Guitar Center, both of which offer a wide range of professional-grade solutions. Online retailers like Amazon also carry budget-friendly options if you’re just starting out. For a more hands-on experience, visit a local music store or instrument shop that specializes in recording gear. If you’re looking for used equipment, check out platforms like Reverb or Sweetwater’s Gear Exchange program.
09How to treat a small room for recording with a limited budget
If you’re working with a limited budget, start with the most critical areas: place absorption panels on the walls behind your microphone and speakers, and add bass traps to the corners. Use thick curtains or heavy blankets to cover windows, and lay down rugs to reduce floor reflections. While these solutions won’t be as effective as professional-grade materials, they’ll make a noticeable difference in your recordings. As your budget allows, invest in higher-quality acoustic treatments like Auralex or GIK Acoustics panels.
10Best online music stores for acoustic treatment gear
11Sweetwater Music Store locations
Sweetwater is one of the top destinations for musicians and producers looking for high-quality recording gear. With a strong online presence and physical locations in the U.S., Sweetwater offers a wide selection of acoustic treatment materials, microphones, audio interfaces, and more. Their knowledgeable staff can help you choose the right equipment for your setup. If you’re near Fort Wayne, Indiana, you can visit their headquarters for hands-on demos and expert advice. For those who prefer shopping online, Sweetwater’s website provides detailed product descriptions, customer reviews, and fast shipping options.
12Popular categories for acoustic treatment in online music stores
13Hottest deals on acoustic treatment gear
Look for seasonal sales, holiday promotions, or clearance sections on music gear websites. Sweetwater often runs deals on acoustic treatment materials, and Guitar Center has frequent discounts. Online marketplaces like Amazon and Reverb also offer competitive pricing, especially during Black Friday or Prime Day. Sign up for newsletters from your favorite stores to stay updated on the latest offers.
14Top new musical instruments and gear for home recording
While treating your room is essential, investing in quality gear can elevate your recordings. Check out the latest audio interfaces, microphones, and studio monitors from brands like Focusrite, Universal Audio, and Neumann. Pair your treated room with the right equipment for professional-sounding results. For beginners, the best DAWs for Mac and PC and best microphones for vocals at home are great starting points.
15Top online courses for learning acoustic treatment
If you’re serious about improving your recording space, consider enrolling in online courses that focus on acoustic treatment. Platforms like Coursera and Udemy offer courses taught by industry experts. For example, the by Berklee College of Music provides in-depth knowledge on room acoustics and treatment techniques. These courses can help you understand the science behind acoustic treatment and apply it effectively in your own space.
16Comparing acoustic treatment materials
When choosing acoustic treatment materials, it’s important to compare different options to find the best fit for your needs. Here’s a comparison of some popular materials:
17Your research destination for acoustic treatment
Before making any purchases, research the specific needs of your room and the types of music you record. Read reviews, watch demo videos, and consult with experts at music stores like Sweetwater. Understanding the science behind acoustic treatment will help you make informed decisions. For more guidance on setting up your home studio, explore resources like how to choose studio monitor speakers or how to mic an acoustic guitar for studio recording.
Takeaway: Treating a small room for recording doesn’t have to be complicated or expensive. Start with the basics, absorption panels, bass traps, and diffusion, and gradually upgrade as your budget allows. The key is to address the most problematic areas first and fine-tune your setup over time. With the right materials and a bit of effort, you can transform your small room into a professional-sounding recording space.
18Frequently asked questions
What’s the cheapest way to improve a small recording space?
Hang thick blankets or quilts on walls to absorb reflections. A 10×12-foot room needs about 20 blankets placed strategically. Test by clapping; the sound should decay quickly. Avoid thin fabrics like curtains, which do little for mid/high frequencies.
Can I use furniture to help with acoustics?
Yes. Place heavy bookshelves filled with books along walls to diffuse sound. Avoid empty shelves or smooth surfaces. A couch with a thick back can also help, but cover it with a blanket to improve absorption. Keep furniture at least 3 feet from mic positions.
How do I position my microphone for the best sound?
Avoid placing the mic in corners or near parallel walls. Point one wall away from the mic and use the other as a reflector. For vocals, a cardioid pattern mic like the Shure SM7B works well. Keep it 6-12 inches from your mouth to reduce room noise.
What’s a quick DIY solution for a low ceiling?
Suspend egg cartons or foam panels from the ceiling with fishing line. Space them 12-18 inches apart to break up standing waves. For a temporary fix, hang a quilt directly above your mic. Test with a recording; the difference should be noticeable in the first 50ms of playback.